
A no-till vegetable bed asks for patience instead of muscle. Rather than turning the soil every spring, you smother the grass, pile on compost and mulch, and let worms, roots and fungi do the digging. The result is a bed that soaks up rain, pulls easily at harvest time, and improves every season instead of wearing out. Lasagna beds are the simplest way in, and you can build one in an afternoon with materials you probably already have.
Why No-Till Works Better Than It Sounds
Every pass with a tiller or spade does two things at once. It fluffs the top few inches of soil, and it shreds the structure underneath: fungal threads, earthworm burrows, the root channels that carry water down through clay. It also drags buried weed seeds into the light, where they germinate in force. That is why a freshly tilled bed often looks worse by July than it did in May.
Leave the soil alone and those channels stay open. Rain soaks in instead of running off, which matters more each summer. Organic matter builds instead of burning off. The weed seeds already in your soil stay buried, and the ones you smother with cardboard never get a chance. Your back notices the difference too.
One honest caveat: if your ground is badly compacted from years of traffic or heavy equipment, no-till still works, but it takes longer. Deep-rooted crops like daikon radish and comfrey can help break up a hardpan from above while you keep building the surface.
Materials to Gather Before You Start
You do not need much, but you do need enough. Scrounge these before you start laying anything down, because a half-finished bed is an invitation to weeds.
- Cardboard: plain corrugated, with tape and staples removed. Avoid glossy or heavily printed boxes.
- Newspaper: black-and-white pages only, laid four to six sheets thick.
- Compost or aged manure: the finished, crumbly kind, not fresh. This is the layer roots actually grow into.
- Browns: straw, dry leaves, shredded paper, spoiled hay.
- Greens: grass clippings, kitchen scraps, coffee grounds, fresh garden trimmings.
- Mulch for the top: straw, leaves or clean wood chips, plus wood chips for paths.
Two cautions. Hay and manure from farms that use persistent herbicides can carry residue that stunts tomatoes and legumes for years, so ask before you haul. And skip black walnut leaves and chips in the bed itself, since they can slow growth while they break down.
Building a Lasagna Bed, Layer by Layer
Choose a spot with at least six hours of sun and reasonable drainage. Make the bed four feet wide so you can reach the middle from either side, and as long as you like. Then work through this:
- Mow or trample the existing grass and weeds. Do not dig or spray them. Flattened growth underneath simply becomes food.
- Lay cardboard over the whole area, overlapping seams by at least six inches and running it a foot past the edges. Wet it thoroughly. Soaked newspaper works the same way.
- Spread two to three inches of compost or aged manure over the cardboard. This is your planting layer.
- Add two to three inches of browns, then one to two inches of greens. Roughly two parts brown to one part green by volume keeps the pile sweet rather than sour.
- Repeat the brown-and-green layers two or three more times, watering as you go. Everything should be damp like a wrung-out sponge.
- Finish with two to three inches of straw or leaves as mulch. The whole stack will start out twelve to eighteen inches tall and settle to a third of that.
You can plant the same day, or let the bed sit for a few weeks. Fall is the ideal time to build, since winter freezing and thawing softens everything below and you start spring with a bed already working.
Planting Into a Fresh Bed
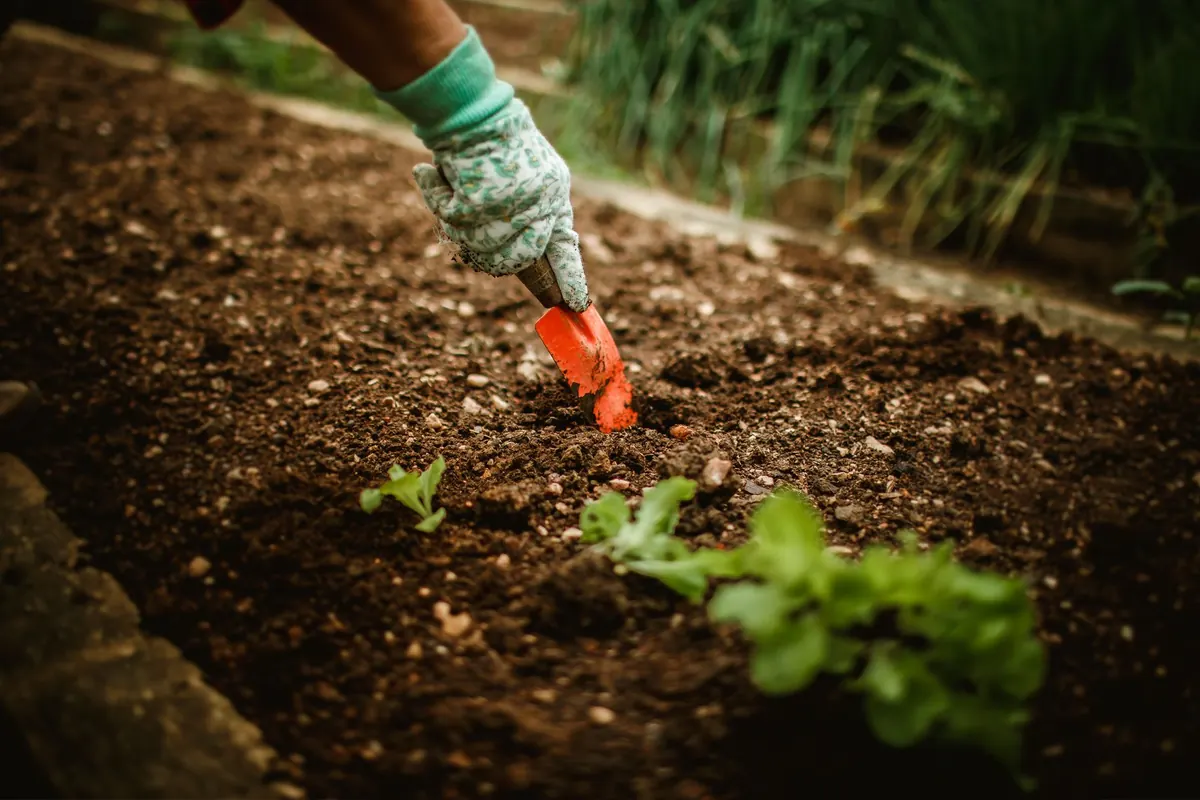
Push the mulch aside, open a pocket in the compost layer, set your transplant, and water it in. Tomatoes, peppers, squash, brassicas and leafy greens all settle in happily this way. For seeds, sift an inch or two of screened compost over the surface first; lettuce, radishes, beans and chard germinate fine in that finer texture.
Avoid sowing straight into raw kitchen scraps, which can heat up and burn young roots. Root crops like carrots and parsnips are happier in the second season, once worms and decay have loosened the ground below. Expect to water more often through the first summer, because cardboard wicks moisture away from the surface until it breaks down.
Weed Control Without a Hoe
Mulch is most of the job
Keep two to four inches of organic mulch on the bed at all times and top it up as it rots. Weeds that do appear pull out with two fingers while they are tiny. A trowel is fine for the stubborn ones, but do not turn the soil around them.
Disturb only where you plant
Every time you open the soil, you expose a fresh batch of seeds. Stay off the beds with your feet, using paths or a board to kneel on, and resist the urge to fork things over in spring.
Smother the tough patches
For bindweed, Bermuda grass or other runners, cover the area with cardboard and six inches of mulch for a full season before planting. Where summers are hot, clear plastic laid over damp soil for several weeks can cook off weeds, though it also kills the biology you have been feeding. Cover crops work in the other seasons: buckwheat in summer, winter rye or crimson clover in fall. Cut them at ground level before they set seed and leave the tops lying as mulch.
Feeding the Soil Between Seasons
Each fall or spring, top-dress the bed with an inch of compost. Cut spent plants off at soil level and leave the roots to rot in place. Let fallen leaves stay where they land. If a crop looks pale or stalls, side-dress with compost or a balanced organic fertilizer according to the label, and consider a soil test through your local extension office every few years rather than guessing.
The first year brings a few surprises worth knowing. Beds settle several inches as the layers break down, so keep mulch handy. Slugs and pillbugs love the damp habitat, so set out boards to collect them in early spring and plant sturdy transplants. Field mice sometimes nest in the cardboard, which is annoying but rarely fatal to the garden. Keep mulch pulled back an inch or two from stems to discourage both.
Start Small and Let the Soil Do the Work
Build one bed four feet by eight feet. Fill it with cardboard, compost and mulch, plant something easy, and see how it performs. Weeds get lighter every year as the surface seed bank is used up and never replenished, and the soil underneath turns dark and crumbly in a way that a trowel slides through. Keep a stack of flattened cardboard and a leaf pile behind the shed so you always have materials on hand. In two or three seasons, you will have ground that feeds your plants with almost no input, and a tiller you no longer want.
Photo: Helena Lopes / Pexels